Yesterday, I bought an icon pack containing over 3,000 (!) SVG files and macOS utterly failed me when I tried to search the unarchived folder.
So I did what any self-respecting Racketeer would do. I used this as an excuse to play around with Racket's built-in GUI library!
![]()
Diving in
The Racket GUI toolkit is a retained mode style API for building user interfaces, meaning that you work with it by instantiating objects that represent the things that ought to be drawn on your screen and then the system draws them for you and, in order to add custom behavior when the user interacts with those objects, you register callbacks that react to certain events.
To render a window on the screen, all you have to do is:
#lang racket/gui

(require racket/class)

(define window
  (new frame%
       [label "Hello World!"]))

(send window show #t)
The above code instantiates a new frame object -- whose label (title) is "Hello World!" -- and then tells it to make itself visible. Easy as that!
racket/class crash course
The GUI library is built on top of Racket's class system. All you need to know to make use of it in this context is:
- class names conventionally have a
%suffix, - interface names conventionally have a
<%>suffix, - you instantiate a class by using the
newmacro, giving it the name of the class you want to instantiate followed by zero or more field values and - you send objects messages using the
sendmacro.
Laying things out
With the above in mind, we can go ahead and lay out our interface:
#lang racket/gui

(require racket/class)

(define window
  (new frame%
       [label "Icon Viewer"]
       [width 800]
       [height 600]))

(define panel
  (new vertical-panel%
       [parent window]))

(define search-box
  (new text-field%
       [parent panel]
       [label #f]))

(define list-box
  (new list-box%
       [parent panel]
       [choices empty]
       [label #f]))

(define canvas
  (new canvas%
       [parent panel]))

(send window show #t)
Assigning a parent to a widget ensures that said widget renders
within said object. So, above, we have defined the following
hierarchy:
window
└── panel
    ├── search-box
    ├── list-box
    └── canvas
The panel lays out its children underneath one another in a single
column and its children should be fairly self-explanatory:
search-boxis where we're going to type our search filters,list-boxis where we're going to list the filtered files andcanvasis where we're going to draw the selected file.
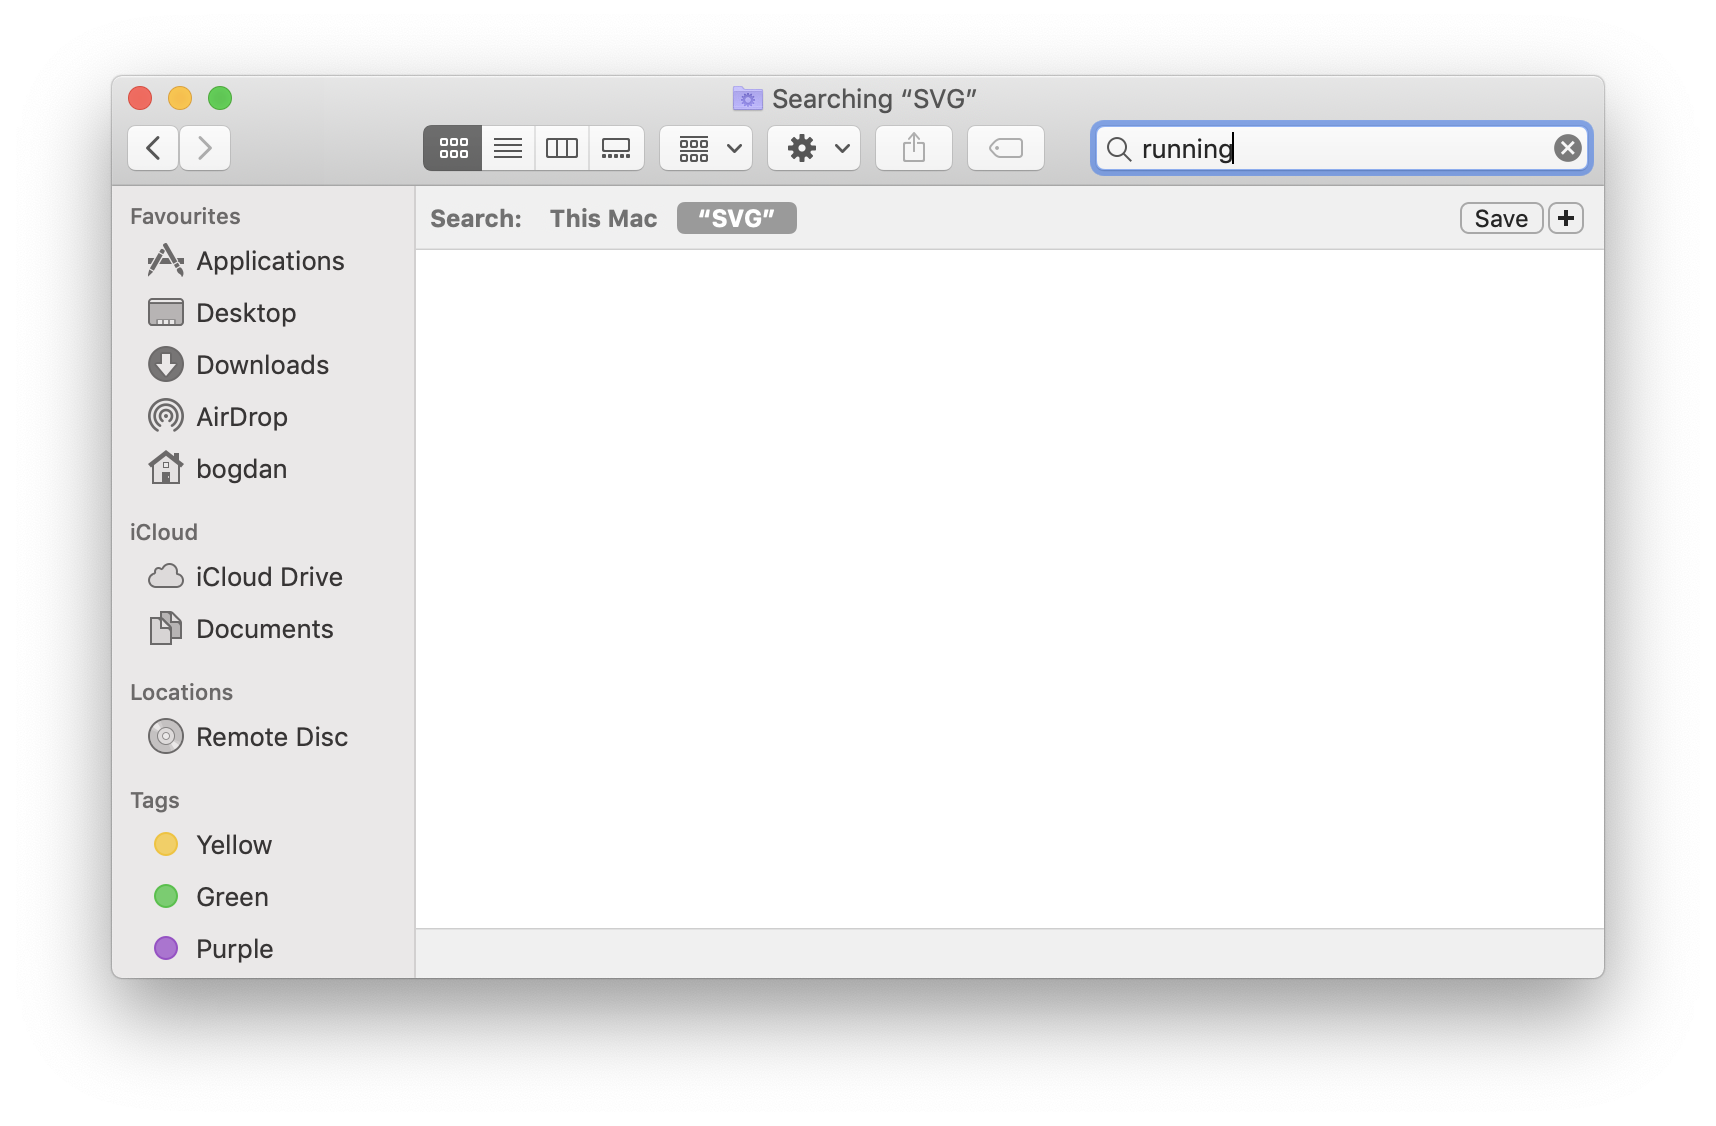
If you run the above code, then you should get a UI that's nearly identical to the one I showed at the beginning of this article.
Adding behavior
Despite looking like the screenshot, the code above doesn't implement any of the behavior of the final product yet. So let's add that!
You may have noticed that the list-box% class takes a choices
field. Let's start there.
At the top of the file, we can gather all of the names of the SVG files in the current directory into a list:
(define folder-path
  (current-directory))

(define filenames
  (for/list ([filename (directory-list folder-path)]
             #:when (equal? (path-get-extension filename) #".svg"))
    (path->string filename)))
And then we can pass that list to the list-box when we instantiate
it via the aforementioned choices field:
(define list-box
  (new list-box%
       [parent panel]
       [choices filenames]
       [label #f]))
Run the code from a folder that contains SVG files and you should now see those files being listed in the UI.
On to filtering. When someone enters text into the search-box, we
want the list of filenames to be narrowed down to only those filenames
that contain the search string. To do this, we can give the
search-box a callback that it should execute whenever its contents
change:
(define search-box
  (new text-field%
       [parent panel]
       [label #f]
       [callback (lambda (sb e)
                   (define text (send sb get-value))

                   (send list-box clear)
                   (for ([filename filenames]
                         #:when (string-contains? filename text))
                     (send list-box append filename)))]))
The callback takes the search-box object itself and an object
representing the event that occurred as arguments. It then extracts
the text from the search-box, empties out the list-box and only
adds back in those filenames which contain the search string.
Finally, it's time to display the selected SVGs. For that, we're
going to need the rsvg library. To install it, you can run:
raco pkg install rsvg
It relies on librsvg so you're going to need to have that available
as well. On macOS, you can install it using homebrew:
brew install librsvg
To hook things up, we require rsvg then add a callback to the
list-box so that, when an item is clicked, we can read the file from
disk and display it on the canvas:
(require rsvg)

;; ...

(define list-box
  (new list-box%
       [parent panel]
       [label #f]
       [choices filenames]
       [callback (lambda (tb e)
                   (define selection (send tb get-string-selection))
                   (define filename (and selection (build-path folder-path selection)))
                   (when filename
                     (define svg (load-svg-from-file filename 3))
                     (define dc (send canvas get-dc))
                     (send dc clear)
                     (send dc draw-bitmap svg 0 0)))]))
And that's it! At this point, you should have a working icon viewer. Not bad for about 50 lines of code.
The final version is a little longer because I added support for debouncing and copying selected files elsewhere by double clicking on them, but it still clocks in at only about 100 lines of code!
You can find the final version of the code here.