This week, I spent some time automating the build & distribution process for Franz and I wanted to jot down some quick notes about how it works. Most of the steps are not specific to GitHub Actions so you could replace it by your favorite CI.
The Workflow
Take a look at the workflow to follow along.
The build_core_arm64 and build_core_x86_64 jobs are concerned
with building the Racket core of the application and are relatively
uninteresting: install Racket, install the core dependencies, and
compile an object file with the core implementation. Finally, upload the
core objects and supporting files for use in build_app.
The build_app job first downloads the core objects and installs a
Swift package the application depends on, then proceeds to build the
app, create a disk image containing the app, notarize the image, and,
finally, save the notarized .dmg.
Apple Developer Certificates
This part is based on GitHub's own documentation for "Installing an Apple certificate on macOS runners for Xcode development", though I found I didn't need to export a provisioning profile and could just rely on Xcode to automatically handle that for me.
I distribute the app using my Apple Developer ID (i.e. folks download a
.dmg file directly from my website, not via the Mac App Store), so I
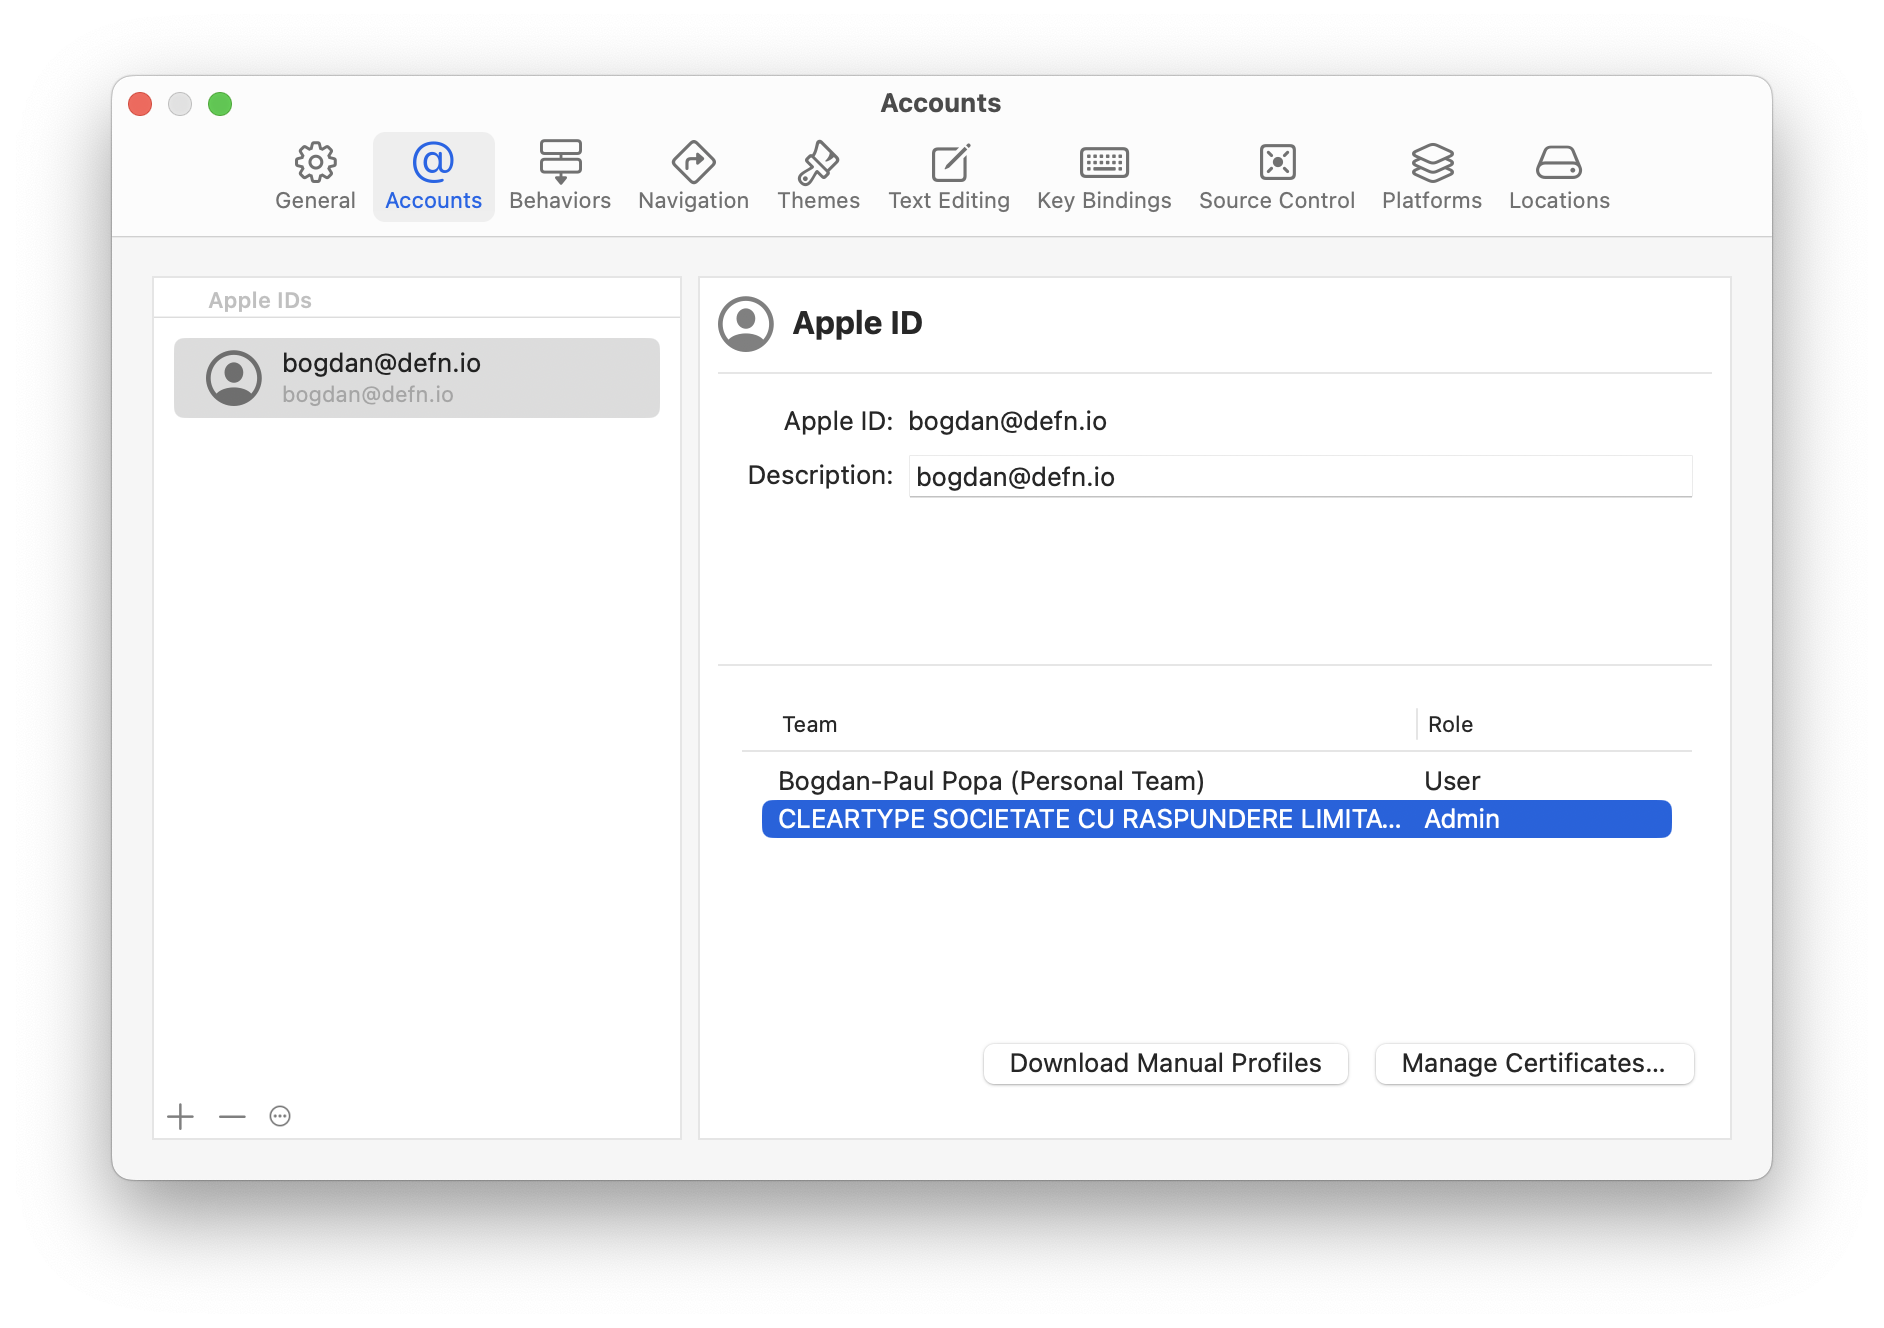
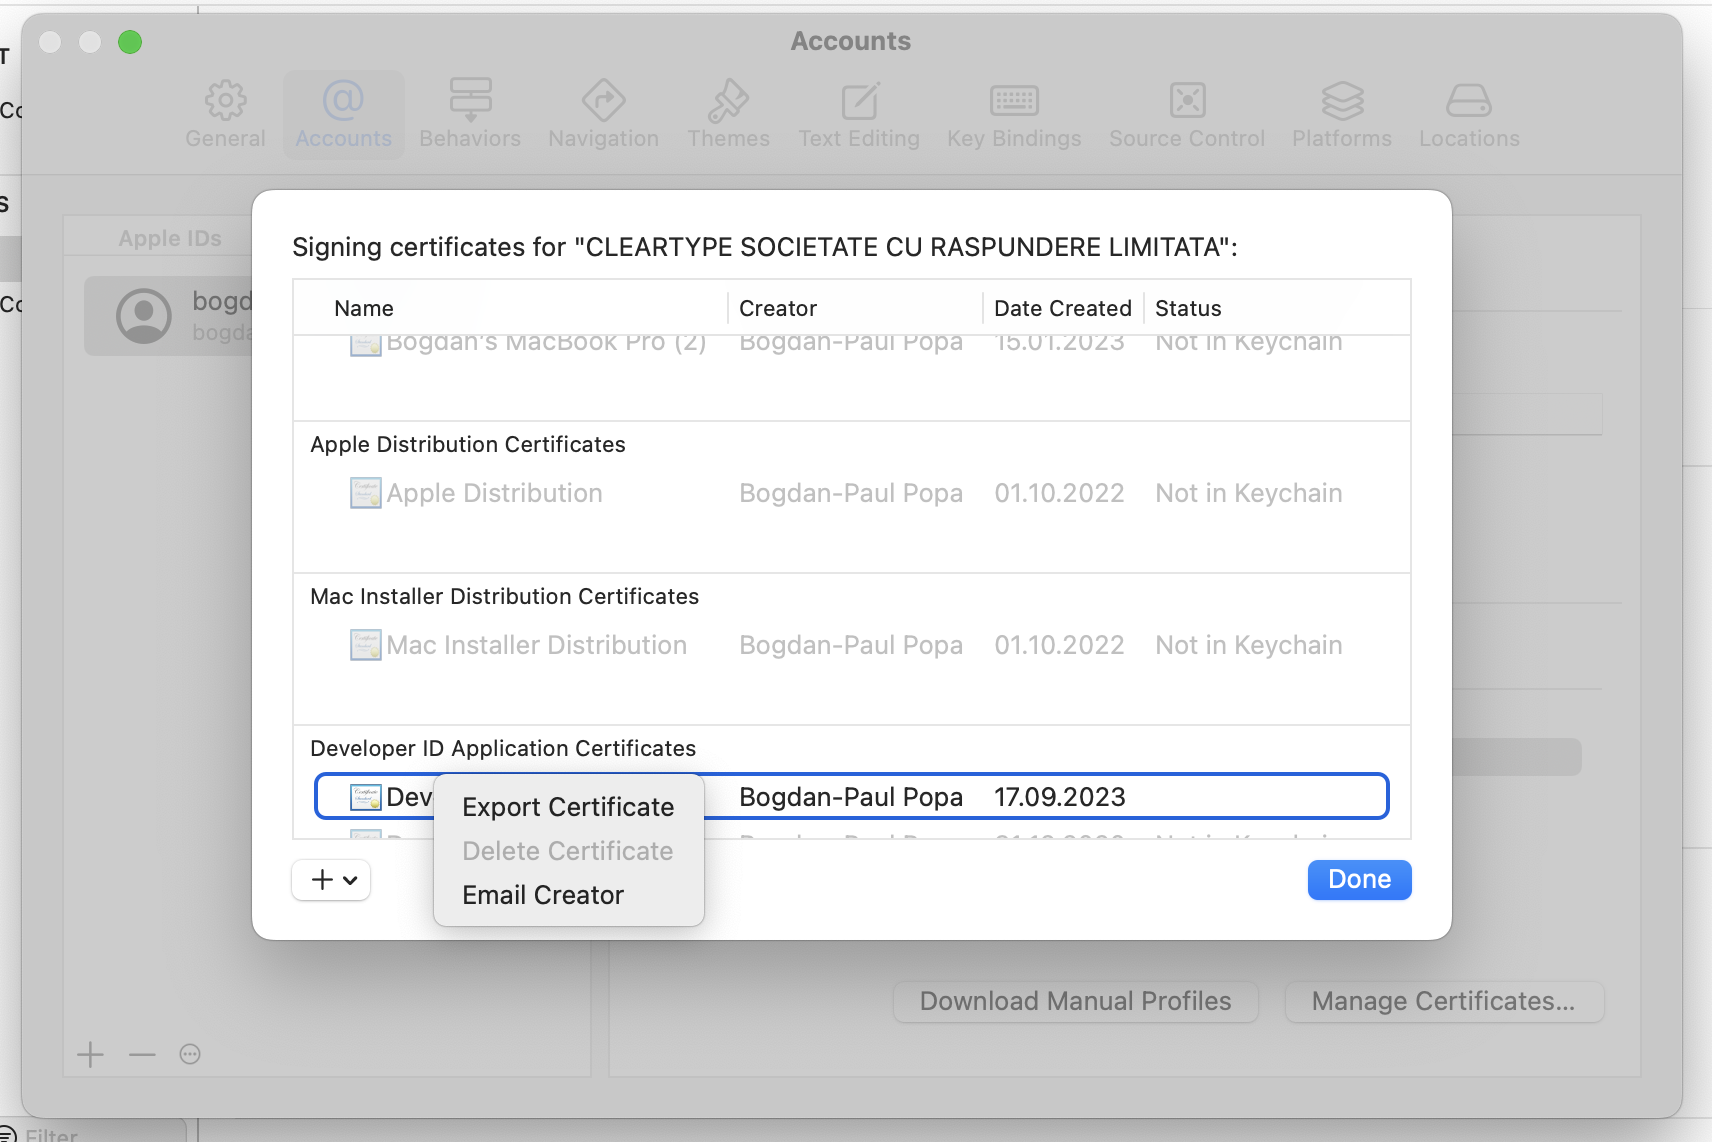
had to generate a couple certificates to use with the workflow. I did
this directly from Xcode by going to "Settings" -> "Accounts" -> "Manage
Certificates...".
I created a new "Apple Development Certificate" and a new "Developer ID Application Certificate", then exported both to disk and assigned each a strong password.
I converted the certificates to base64 and stored them as GitHub Secrets under my repository's settings. To make the certificates available to Xcode during workflow runs, I create a keychain and import the certificates into it:
MAC_DEV_CER_PATH=$RUNNER_TEMP/madev.p12
DEVELOPER_ID_CER_PATH=$RUNNER_TEMP/devid.p12
KEYCHAIN_PATH=$RUNNER_TEMP/app-signing.keychain-db
echo -n "$MAC_DEV_CER" | base64 --decode -o $MAC_DEV_CER_PATH
echo -n "$DEVELOPER_ID_CER" | base64 --decode -o $DEVELOPER_ID_CER_PATH
security create-keychain -p "$KEYCHAIN_PASSWORD" $KEYCHAIN_PATH
security set-keychain-settings -lut 21600 $KEYCHAIN_PATH
security unlock-keychain -p "$KEYCHAIN_PASSWORD" $KEYCHAIN_PATH
security import $MAC_DEV_CER_PATH -P "$MAC_DEV_CER_PASSWORD" -A -t cert -f pkcs12 -k $KEYCHAIN_PATH
security import $DEVELOPER_ID_CER_PATH -P "$DEVELOPER_ID_CER_PASSWORD" -A -t cert -f pkcs12 -k $KEYCHAIN_PATH
security list-keychain -d user -s $KEYCHAIN_PATH
Building the App
To build the app, I first run xcodebuild to generate an .Xcarchive
of the app's compiled objects and runtime support files. Just run the
archive subcommand with the Xcode scheme to build and input and output
paths:
xcodebuild \
  archive \
  -project FranzCocoa.xcodeproj/ \
  -scheme Franz \
  -destination 'generic/platform=macOS' \
  -archivePath dist/Franz.xcarchive
Next, I run xcodebuild again to export the archive to an .app:
xcodebuild \
  -exportArchive \
  -archivePath dist/Franz.xcarchive \
  -exportOptionsPlist FranzCocoa/ExportOptions.plist \
  -exportPath dist/ \
  -allowProvisioningUpdates
Figuring out the contents of the ExportOptions.plist file was a bit
tricky. The set of available options is printed at the end of the output
for xcodebuild -help. The right combination of options for my app
turned out to be:
<?xml version="1.0" encoding="UTF-8"?>
<!DOCTYPE plist PUBLIC "-//Apple//DTD PLIST 1.0//EN" "http://www.apple.com/DTDs/PropertyList-1.0.dtd">
<plist version="1.0">
<dict>
<key>compileBitcode</key>
<false/>
<key>method</key>
<string>developer-id</string>
<key>signingStyle</key>
<string>automatic</string>
<key>stripSwiftSymbols</key>
<true/>
<key>teamID</key>
<string>H3YE679B58</string>
<key>thinning</key>
<string><none></string>
</dict>
</plist>
Once the app is exported, I use create-dmg to create a nice-looking
disk image to distribute it with and then proceed to notarization.
I considered building up the image manually using hdiutil, but
generating output as nice as what create-dmg produces is relatively
hard (and involves, for example, editing .DS_Store files), so
create-dmg it is.
Notarizing the App
To notarize the app, I use Xcode's notarytool utility:
xcrun notarytool submit \
  --team-id 'H3YE679B58' \
  --apple-id 'bogdan@defn.io' \
  --password "$NOTARY_PASSWORD" \
  --wait \
  dist/Franz.dmg
In order to make notarization requests from within the workflow, I had to create an app-specific password using the Apple ID website.
Once notarization succeeds, I run the stapler utility to staple the
notarization onto the disk image:
xcrun stapler staple dist/Franz.dmg
And that's it. The final step after this is just to upload the image artifact so I can grab it and manually1 release it when I'm ready.
A process I'll automate some other time. ↩